Finding the right hunting map app can feel like hunting blind in thick woods.
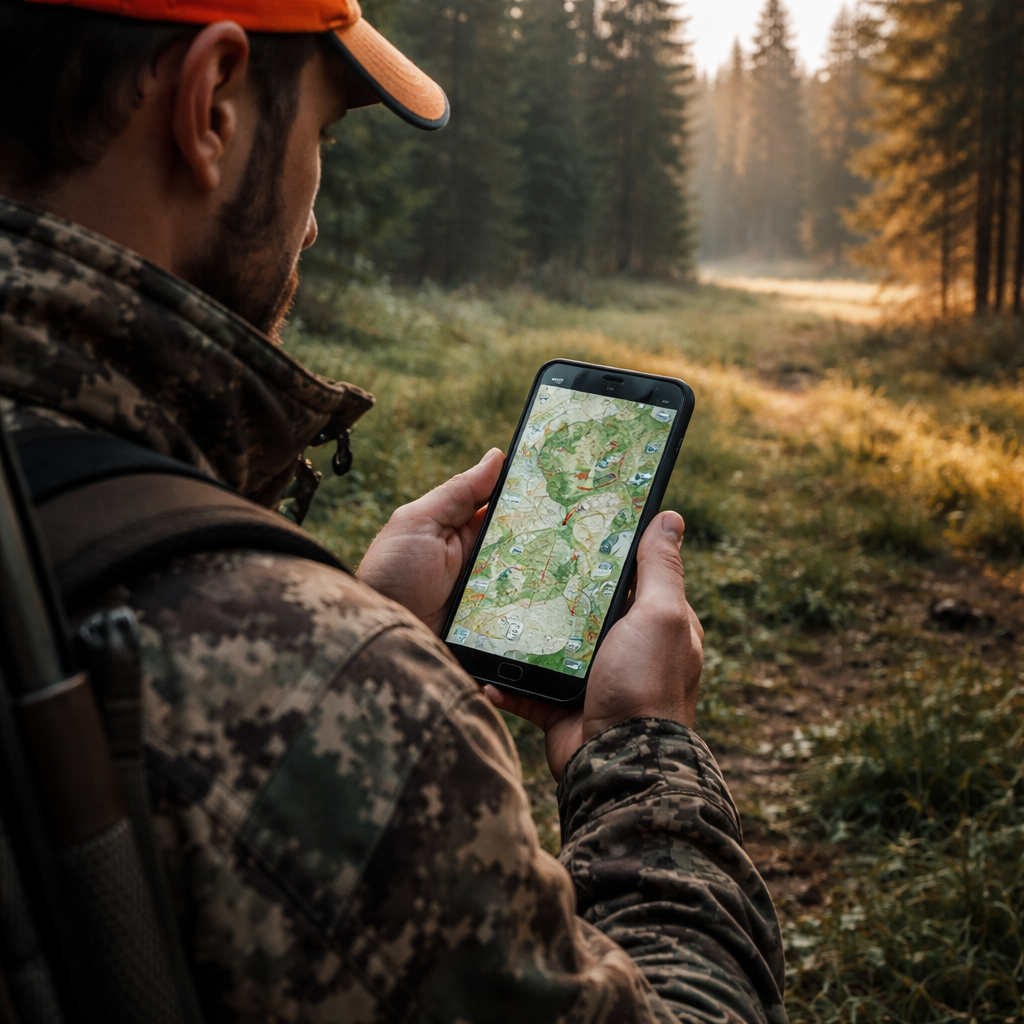
When you buy a hunting map app you want clear layers, offline access and real‑time GPS. A tool that shows crown land, WMU borders and satellite views lets you spot legal spots before you leave the truck. Check out the Best Hunting Map App: Top Picks for 2026 for a quick rundown of options that match those needs.
Start by listing what you need: offline maps, land‑type filters and easy waypoint saving. Then compare a few apps side by side, read recent user notes and try the free version if it’s offered. Finally, buy the one that gives you fast maps without draining your battery.
Remember to keep your device charged and store a paper backup map in case the phone dies. A quick check of the app’s update log each season makes sure you have the latest boundaries and season dates.
Step 1: Determine Your Hunting Needs
First thing you need to do is ask yourself what you really need from a hunting map app. Do you hunt in remote backcountry where cell service is thin? Do you need a map you can grab offline and still see land boundaries?
If you can picture a day out there, think about the tools that would keep you safe and on‑track.
Make a quick checklist. Offline maps are a must if you wander off the grid. Land‑type filters help you avoid private property. Waypoint saving lets you mark a water source or a good stand and hop back later. Battery drain matters too – look for an app that runs low‑power mode.
Rank those items by what matters most to you. If you hunt at night, a clear night‑mode map tops the list. If you hunt with a group, sharing waypoints becomes key. Write down your top three and use them as a filter when you compare apps.
Now take that list and start testing apps. Open the free version, load an offline map, and try the waypoint tool. Does the map stay sharp when you zoom into a ridge? Does the battery stay low enough for a full day?
When you’ve found an app that ticks most of your boxes, move on to the next step – setting up alerts and learning the map symbols. That way you’ll spend less time fiddling and more time tracking game.
Step 2: Research Available Apps
Now that you know what you need, it’s time to start looking at the apps that claim to deliver it. Open the store page for each app and scan the description for the basics: offline maps, land layers, waypoint sharing.
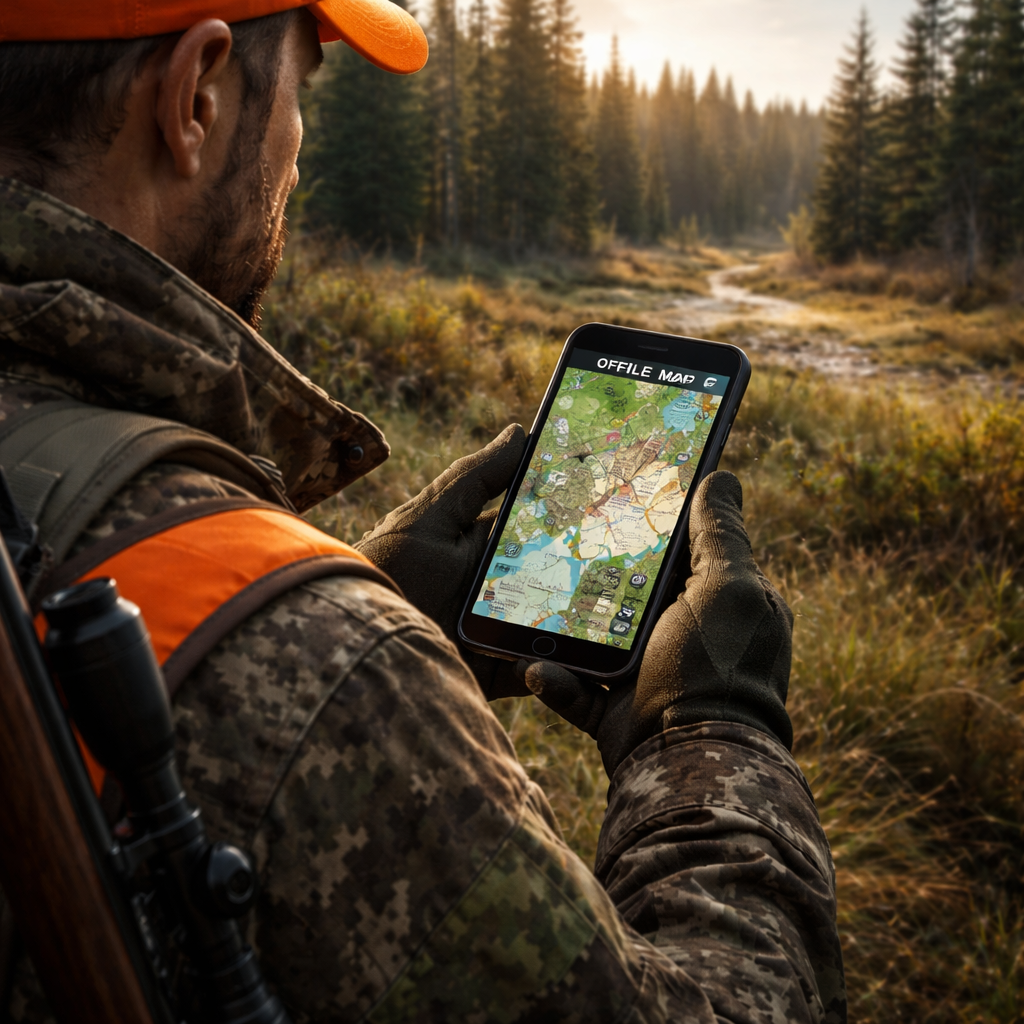
First, make sure the app actually lets you download the map area you plan to hunt. A simple “download map” button is a good sign; a long list of settings means you’ll waste time before you hit the trail.
Second, check what layers are included. Does it show Crown land, WMU borders, satellite view? If you hunt on public land, those layers are a must‑have. Some apps hide the layers behind a paywall – note that early.
Battery use is another red flag. Look for an option to turn GPS updates off or to set a lower refresh rate. Apps that run the GPS nonstop will drain your phone before sunset.
Read the most recent user reviews. Look for comments about map accuracy, offline bugs, and how quickly the app updates season data. A pattern of “works great offline” is worth a higher score.
Pricing can vary. Some apps are free with limited layers, others charge a yearly fee for full access. Decide if the extra cost buys you the layers you need, or if a cheaper app meets your three must‑haves.
Finally, remember that a map app is only useful if you’re allowed to hunt where you point the pin. Check your province’s licence rules – the how to get a hunting licence in Canada guide walks you through the steps.
Step 3: Watch Demo Video and Try Free Trials
Now that you know what you need, the easiest way to see if an app lives up to those needs is to watch its demo video.
Most hunting map apps put a short clip on the store page or their website. Play it on your phone or laptop while you have a cup of coffee. Look for how the map loads, how you toggle layers, and whether the GPS marker moves smoothly.
While the video runs, open the free trial if one is offered. A trial lets you download a small area, turn the GPS on and off, and drop a pin. Try the same steps you saw in the video: tap a crown‑land layer, switch to satellite, and share a waypoint with a friend.
Pay attention to battery use. Some apps let you set the GPS refresh to 30 seconds instead of every second – that can save a lot of juice on a long hunt.
If the trial feels clunky, close it and move on. Most free trials last 7 days or a set number of map tiles, so you have enough time to test offline use on a real trail.
Tip: write down the name of any feature that feels missing. When you compare apps later, you’ll have a quick checklist.
When you’re ready to decide, check out the best hunting map app guide for a side‑by‑side view of which tools offer the most robust demos and trial periods.
After you’ve watched the video, tried the trial, and taken notes, you’ll be in a solid spot to buy a hunting map app that actually works for you.
Step 4: Compare Features, Prices, and Offline Capabilities
Now you have a few apps that survived the trial. It’s time to line them up side by side.
Build a quick checklist
Write down three must‑haves: layer support, offline download, and battery use.
Then add the cost. Some tools are free but hide the best layers behind a subscription. Others ask for a one‑time fee.
Score sheet
| Feature | App A | App B | Notes |
|---|---|---|---|
| Land layers (Crown, WMU) | Yes | Partial | Check if you need full set |
| Offline map download | Full area | Limited tiles | Consider how far you roam |
| Battery saver mode | 30‑sec refresh | 1‑sec refresh | Longer refresh saves juice |
Look at the table and see which app gives you the most for the price you’re comfortable with.
Don’t forget to check if the app updates season data each year. An app that lags can cost you a day on the field.
When you’ve scored each row, add up the points. The highest score usually points to the best fit.
Ready for the final step? see the full hunting map app comparison guide for a deeper dive before you buy hunting map app.
Step 5: Make the Purchase and Set Up Your App
Now you’ve scored the apps, it’s time to hit the buy button. Grab the version that covers all the layers you need and offers the offline download size you want. Most apps let you pay with a credit card or through the app store – pick the method that feels safest.
Before you tap “Purchase,” double‑check the refund policy. A 24‑hour money‑back window can save you a lot of hassle if the map glitches on your first hike.
Activate the app
Once the receipt lands in your inbox, open the app and log in with the same email you used at checkout. Some tools ask you to enter a licence key – copy it from the email and paste it in.
Next, head to the settings menu and turn on “offline maps.” Pick the area you plan to hunt, hit download, and wait for the tiles to finish. It usually takes a few minutes on a good connection.
Fine‑tune battery and GPS
Set the GPS refresh rate to 30 seconds or longer. That small tweak can keep your phone alive for a whole day in the woods. Also, enable any battery‑saver mode the app offers.
And don’t forget to sync your waypoints with your hunting crew. A quick “share” tap will push the pins to their phones, so everyone knows the hot spots.
If you’re hunting in Ontario, you might want to peek at the Ontario Crown land map to see the exact parcels you’ll be roaming.
With the app bought, installed, and tuned, you’re ready to head out. Pack a paper backup, charge your phone, and let the map guide you to the next big find.
FAQ
How do I know which hunting map app is right for me before I buy?
Start by listing the layers you need—satellite, topographic, WMU borders, wind, or species‑specific overlays. Match those needs against each app’s feature list, then rank how well the app handles offline downloads and battery use. A quick trial lets you toggle the layers on a familiar spot and see if the UI feels smooth. The app that checks most boxes for your checklist is the one to buy.
Can I try a hunting map app for free before I buy?
Most map services offer a free tier or a limited‑time trial. Sign up, download the app, and pull a small area—say a 5‑mile radius around your home. Test layer toggling, GPS lock, and how fast the map loads offline. If the trial feels clunky, you can cancel before any charge hits your card. A trial gives you real‑world data without committing to a full subscription.
What should I check about offline maps when I buy a hunting map app?
When you buy a hunting map app, verify that the offline cache lets you download the exact region you’ll hunt in. Look for a size limit—some apps cap at a single state, others allow nationwide packs. After downloading, turn off Wi‑Fi and walk a short loop to confirm the map stays sharp and the GPS marker updates. If the app drifts or shows blank tiles, it’s a red flag.
How much should I expect to pay to buy a hunting map app?
Pricing varies by platform and the depth of maps. A basic yearly plan can start around $30, while premium bundles that include nationwide layers and advanced weather tools may run $80‑$100 per year. Some services also sell a one‑time lifetime license for a few hundred dollars. Decide what you need—if you only hunt in one province, the cheaper plan saves money without losing core features.
Is it safe to store my payment info in a hunting map app?
Reputable hunting map apps use encrypted payment gateways like Stripe or PayPal, so your card data isn’t stored on the app’s servers. After you finish the purchase, you’ll get a receipt email with a link to download the app—no extra steps needed. To be extra safe, enable two‑factor authentication on your account and avoid saving your password in the phone’s auto‑fill if you share the device.
What steps do I need to follow right after I buy a hunting map app?
Right after you buy, create an account with the email you used for the purchase, then log in and follow the in‑app wizard to download the map files. Make sure your device meets the OS minimum—iOS 10+ or Android 7+. Test the map offline by turning off Wi‑Fi and checking the GPS lock before you head out. If anything looks off, contact support while your receipt is fresh.
Conclusion
All the work you’ve done – listing needs, testing layers, weighing price – now points to one clear move: buy the hunting map app that checks the most boxes for you.
Remember the quick checklist: does it run offline, show the land layers you need, stay alive on battery, and fit your budget? If the answer is yes, lock in the plan, download the map files, and run a short GPS test before you head out.
And what if you’re still on the fence? Grab the free trial again, try a new spot, and see if the app feels smooth in real life. A few minutes of extra testing can save a whole season of frustration.
So, take the final step, hit purchase, and let the map do the heavy lifting while you focus on the hunt.
You’ll be ready for early season runs and late‑day stands alike.
Good luck out there!