Free trials can be a game changer for hunters who want to test a new tool before they spend cash. But many people start a hunting app free trial and never get real value out of it. In this guide you’ll learn exactly how to pick the right app, set it up, test the key features, compare what you get with a paid plan, and pull the most out of the hunting app free trial before it ends.
Follow each step, use the tips, and you’ll know whether the full version is worth your money.
Step 1: Choose a Hunting App and Sign Up for the Free Trial
First, you need a hunting app that offers a free trial. Not every app does, but big names like HuntStand and onX Hunt give you a week to test most tools. Look for an app that lets you download maps, see land lines, and check weather without paying up front.
And make sure the app works on your phone’s OS. Most apps have iOS and Android versions, but a quick check saves you a headache later.
When you find a good match, head to the app store and hit the “Free Trial” button. You’ll be asked to create an account. Use a real email so you can get the reminder when the trial ends.
But don’t forget to read the fine print. Some apps will auto‑charge you after 7 days unless you cancel in time.
Here’s a short checklist to follow before you tap “Start Trial”:
- Check that the app supports offline maps.
- Make sure it has land‑ownership data for your state.
- Verify the trial length (usually 7 days).
- Note the cancellation deadline.
Once you’ve signed up, you’ll get an email with a link to log in. Click it, and you’ll land on the home screen where you can start exploring.
For a deeper look at what onX Hunt offers in its free trial, see the official sign‑up page at onX Hunt sign‑up. It walks you through the steps and shows the trial length.
And if you want a quick rundown of the top hunting apps and why they’re worth a trial, check out the article on Petersen’s Hunting best apps. It lists features like property lines, wind forecasts, and trail camera storage that many free trials include.
Step 2: Set Up Your Profile and Hunting Preferences
Now that you’re in, the first thing to do is fill out your profile. Most hunting apps let you add your name, license number, and the type of game you hunt. This info helps the app suggest the right maps and weather alerts.
And set your hunting preferences. Choose the species you want to hunt, the season you plan to be out, and any special gear you use. The app will then filter the layers you see so you don’t get clutter.
Here’s a quick step‑by‑step:
- Open the profile tab (usually a silhouette icon).
- Enter your license info , it’s safe, the app encrypts it.
- Select your favorite game , deer, elk, turkey, etc.
- Pick your usual hunting style , stand, blind, or hike.
- Save the settings.
Why does this matter? The app can then push you alerts about wind direction, moon phase, or a movement forecast that matches your chosen species.
One real‑world example: a hunter in Colorado set his profile for elk archery. The app then highlighted the 7‑day elk movement forecast, which helped him pick a stand that matched the peak activity time.
Don’t forget to add your points if you use a tool like GOHUNT. The point tracker lets you store bonus points and see draw odds. It’s a small step but can save a lot of time later. Learn more about using a point tracker at GOHUNT insider guide.
When you’re done, you’ll see a clean dashboard that shows your upcoming hunts, weather, and any saved waypoints.
And if you need a map of public land to plan a future hunt, you can check out the Crown Land map for New Brunswick. It shows every parcel of huntable land and layers WMU boundaries , a handy reference while you set up your profile. New Brunswick Crown Land Map for Hunting 2026
Step 3: Explore Key Features During Your Free Trial
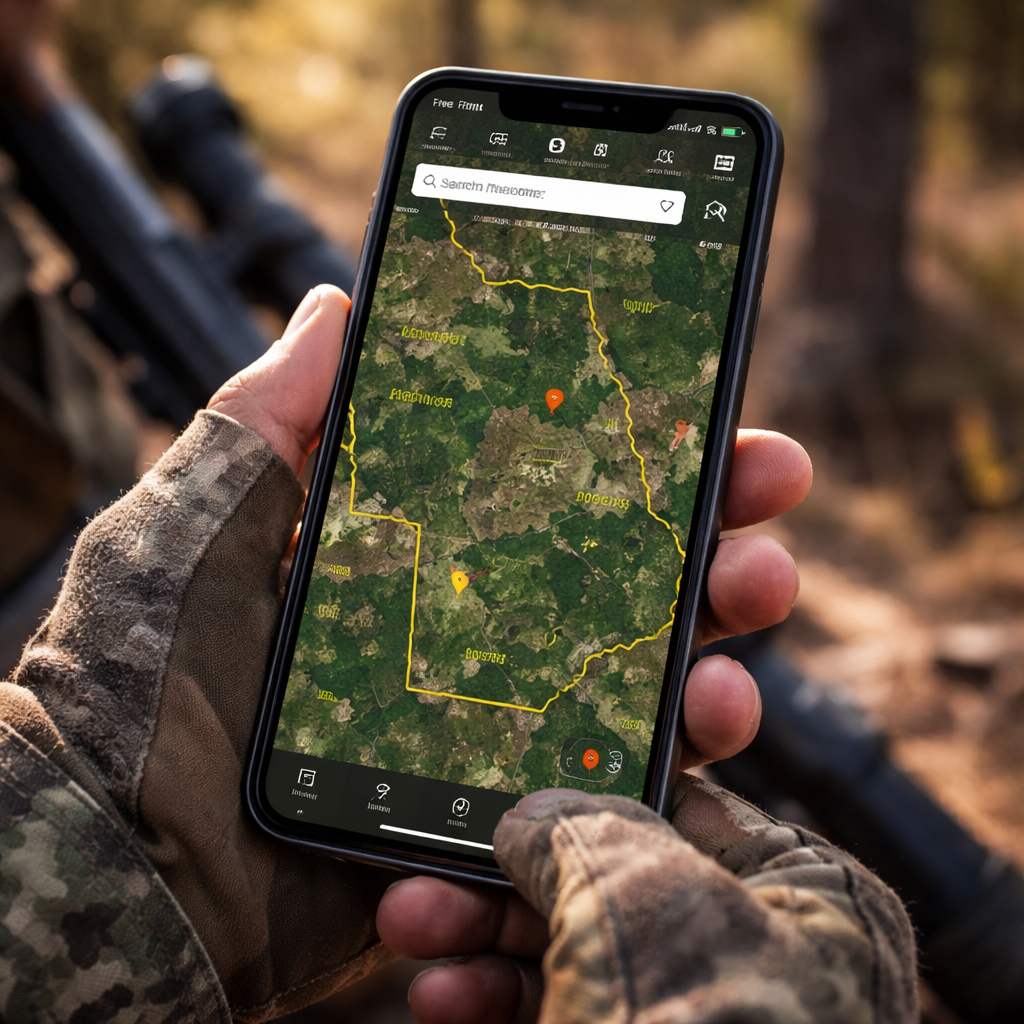
The real test of a hunting app free trial is how well you use its core tools. Spend the first day just scrolling through the map. Look for layers like public land, private landowner names, and wind forecasts.
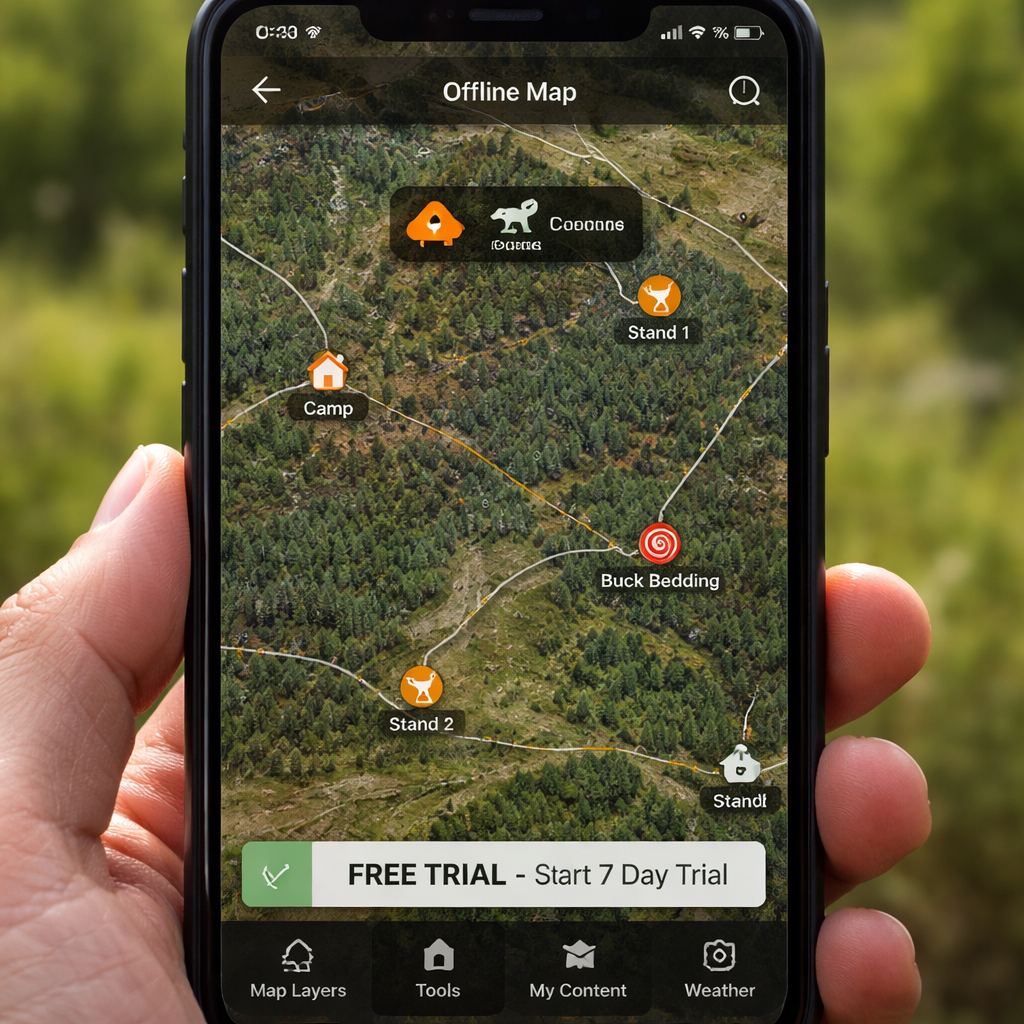
But the best way to learn is to create a fake hunt. Pick a spot you might go to, drop a waypoint, add a photo of a stand, and then turn on the tracker to see how the app records your path.
Here are the top features to try:
- Offline Maps: Download the area you plan to hunt, then switch to airplane mode. Verify that the GPS still shows your location.
- Landowner Info: Tap a parcel to see the owner’s name and address. This helps you ask for permission.
- Wind & Weather: Check the windcast for each stand. See how the app predicts wind direction for the next 24 hours.
- Waypoints & Tracks: Mark a blind, a water source, and a travel route. Use the line distance tool to measure the distance between points.
- Area Shape Tool: Outline a potential hunting zone and see its size in acres.
When you try each tool, note how easy it is to use and whether the data looks accurate for your area.
And if you want to see a quick demo of how a hunting app works, watch this video:
After the video, go back to the app and try to replicate what you saw , set a waypoint, add a note, and check the distance tool.
One pro tip: use the “Recent Imagery” layer if it’s available. It shows the latest satellite view, which can reveal fresh clear‑cuts or recent road work , clues that can point to fresh game movement.
And remember to test the sharing feature. Export a waypoint link and send it to a friend via text. Make sure the link opens the same spot on their device.
Step 4: Compare Trial Features with Paid Plans
At the end of the hunting app free trial you’ll have a list of tools you liked and ones you didn’t use. Now match those against what you get with a paid subscription.
Most apps split features into basic (free), premium (single‑state), and elite (nationwide). The biggest differences are usually map resolution, number of saved offline maps, and access to elite tools like deer movement forecasts.
Use this simple table to see a quick side‑by‑side view:
| Feature | Free Trial | Premium (single state) | Elite (all states) |
|---|---|---|---|
| Offline Maps | Limited area, low resolution | Unlimited areas, medium‑high resolution | All areas, highest resolution |
| Landowner Names | Basic list | Full contact details | Full list + historic access data |
| Windcast | Current wind only | 24‑hour forecast | 48‑hour forecast + wind direction graphics |
| Deer Movement Forecast | Not included | 7‑day forecast (paid add‑on) | 15‑day proprietary forecast |
| Route Builder | Not available | Basic route planning | Advanced route builder with elevation |
Notice how the free trial gives you a taste of the map and wind tools, but the elite plan adds predictive movement data that can really boost your success.
Here’s a quick way to decide:
- List the features you used most during the trial.
- Match each feature to the column where it appears.
- Add up the cost of the plan that covers all your must‑have tools.
- Compare that total to how much you expect to hunt each season.
For many hunters, the premium single‑state plan is enough if they only hunt in one region. If you chase big game across several states, the elite plan may pay for itself by saving travel time.
And if you’re still unsure, read the onX Hunt FAQ which explains what stays free after the trial ends. onX Hunt FAQ
Step 5: Tips for Maximizing the Free Trial Experience
Getting the most out of a hunting app free trial isn’t just about clicking buttons. It’s about a plan.
Start by writing a short goal for the trial. For example, “I want to map three new stand locations and test the windcast for each.” Having a clear goal keeps you focused.
Next, schedule a mini‑scouting day. Pick a weekend, download the offline map for your target area, and spend a few hours in the field using the app’s GPS. Treat it like a real hunt , that way you’ll see if the tools hold up when you need them most.
And don’t ignore the app’s help center. Many apps have short videos that show how to use the area shape tool or how to share waypoints. Watching those can shave minutes off your learning curve.
Here are three extra tricks:
- Use the “Line Distance” tool for stalk planning. Draw a line from your blind to a likely travel corridor and see the exact distance.
- Set a reminder for the trial end date. Most phones let you add a calendar alert so you won’t be caught off guard by a charge.
- Take screenshots of any feature you like. When you compare plans later, you’ll have a visual reference.
Another tip is to test the app’s integration with other gear. If you have a Bluetooth wind meter or a Kestrel weather unit, see if the app can pull data from it. That can be a big advantage for serious hunters.
Finally, think about the bigger picture. A hunting app can also help you keep track of gear, log each hunt, and even plan future applications. Look for sections like “Hunt Journal” or “Gear List” and try them out before the trial ends.
For more ideas on overlooked features, read the article on most overlooked hunting app features. It covers things like tree‑species layers and windcast graphics that many hunters miss.
If you’re planning a long‑term application strategy, the onX blog has a good post on short, intermediate, and long‑term planning. It can help you see how the app fits into your overall hunting calendar. onX planning guide
Conclusion
Wrapping up, a hunting app free trial is a low‑risk way to see if a digital tool can boost your hunt. Start by picking an app that offers the maps and weather data you need. Set up a solid profile, then dive into the key features like offline maps, landowner info, and windcast. Compare what you got with the paid tiers using a simple table, and decide if the cost matches the value you saw.
Follow the practical tips , set goals, schedule a scouting day, use the line‑distance tool, and set a reminder for the trial end. By the time the free period is over, you’ll have a clear picture of whether the premium version will help you tag more game.
If you feel ready, go ahead and upgrade to the plan that fits your hunting style. If not, you can always try another app’s free trial and repeat the process. The important thing is to keep testing until you find the perfect digital partner for your season.
FAQ
What should I do on the first day of a hunting app free trial?
On day one, focus on setting up your profile, entering your license info, and choosing your preferred game. Then download an offline map of the area you plan to hunt. Walk through the map layers, try a waypoint, and test the windcast. This gives you a baseline of how the app works before you head out.
Can I use a hunting app free trial without an internet connection?
Yes, as long as you download offline maps before you go offline. The app’s GPS will still show your location, and you can access saved waypoints, distance tools, and the wind forecast you downloaded. Just remember to turn on airplane mode so you don’t waste battery.
How do I avoid being charged after the trial ends?
Mark the trial end date in your phone calendar, and set an alarm a day before. When the alarm rings, open the app and go to the account or subscription page. Cancel the auto‑renewal before the date passes. Most apps will keep your data for a short period after cancellation.
What features are usually only in the paid version?
Paid plans often unlock higher‑resolution offline maps, nationwide land‑ownership data, advanced deer movement forecasts, and the route builder tool. They may also give you unlimited waypoint saves and access to historic imagery that the free trial limits.
Is it worth paying for an elite plan if I hunt in multiple states?
For multi‑state hunters, the elite plan can save time and money. It includes all state layers, nationwide property data, and elite tools like 15‑day movement forecasts. If you hunt in three or more states each season, the elite plan often pays for itself by reducing the need for separate subscriptions.
How can I test the app’s accuracy for land boundaries?
Pick a known property line you’ve already scouted on foot. Open the app, zoom in, and compare the digital boundary to the physical fence or marker. Most apps claim 5‑10 foot accuracy, but it’s good to verify on a few spots to be sure the data matches the real world.
Can I share my waypoints with friends during the trial?
Yes, most hunting apps let you export a link or send the waypoint via text, email, or Bluetooth. Try sharing a waypoint with a buddy and ask them to open it on their device. If the link works and shows the same location, the sharing feature is solid.
What should I look for in the app’s weather tools?
The best weather tools give you real‑time wind direction, barometric pressure, and a short‑term forecast. Look for a windcast that shows the wind for each stand you’ve marked. Also, check if the app updates the forecast automatically when you’re online.